
How to Clean Dog's Ears in 3 Easy Steps
27.04.2021.
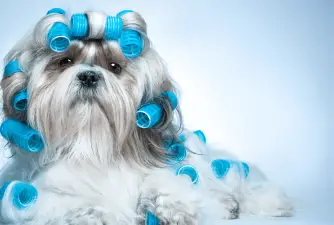
As dog owners, it is our responsibility to keep our dogs as healthy as possible. That means providing them with a healthy diet, physical and mental activities, training, socialization, and hygiene. A big part of a dog’s health is grooming. Some owners might think grooming is only for small dogs getting ready for dog shows; breeds like the Bichon Frise or Toy Poodles.
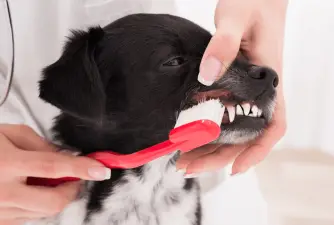
However, that is not entirely true. All dogs require at least some aspect of grooming; they might need their nails trimmed or occasional brushing. Another important aspect of grooming most dogs will need is ear cleaning. Taking proper care of your dog’s ears will prevent infections from happening, and to new dog owners, proper ear care can be a bit of a mystery. Luckily, we are here to help! Here is what you should know about cleaning your dog’s ears.
Which dogs need ear cleaning?
All dogs will need their ears checked regularly. However, breeds like the Cocker Spaniel, Basset Hound, or the Beagle will need some extra care. All breeds with flappy, long-hanging ears have a bigger risk of developing ear infections, so if you share your home with one of these breeds, make sure you check their ears regularly.
When does my dog need ear cleaning?
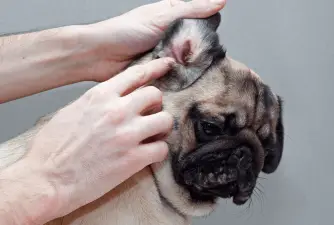
To know exactly when your dog needs ear cleaning, you should first understand what a clean and healthy dog ear looks like. Healthy and clean dog ears should have a nice pink color. There should be no traces of redness or dirt. A healthy dog ear should be odorless. Checking the smell of your dog’s ear might seem a bit yucky, but a nasty odor can indicate an infection.
Overcleaning your dog’s ears can be problematic. You might think you are helping them keep up with good hygiene, but overcleaning can lead to redness and infections. Plus, if your dog developed an ear infection, cleaning it can lead to more harm than good.
There are a couple of clear signs your dog needs their ears cleaned. If you notice any of these signs, you should check your dog’s ears and see if there is a need for some ear cleaning. Here are the most common symptoms your dog needs ear cleaning;
- Your dog is shaking their head more than usual
- The ear canal has a “yeasty” odor
- There is visible dirt in the dog’s ear
- The ear appears red or inflamed
- It has an unpleasant odor
What do I need for cleaning my dog’s ears?
The good news is - cleaning your dog’s ears doesn’t require any special equipment. However, it is highly recommendable you use a great ear cleaning solution. You can talk to your vet and ask for recommendations. In the meantime, check out these dog ear cleaners. All you will need to effectively clean your dog’s ears are;
- Gauze or cotton balls
- Ear cleaning solution
- Dog treats
Cleaning dog’s ears - a 3-step guide
Before you start frantically filling your dog’s ears with an ear cleaning solution, you should know one thing - Never use Q-tips for dog ear cleaning! Q-tips can push the debris further in the dog’s ear canal and cause the perforation of the eardrum.
Do you know what it means when your dog is shaking their head? Check out this article - Dog shaking head.
Step 1
The first step you need to do is - gather all your supplies. Make sure you pick a time of day when your dog is the calmest. That will prevent them from getting hurt, and the process will be a lot easier. You can use dog treats to get your dog in a better mood.
Dogs are not too crazy about having an ear solution poured in their ears. It is not natural to them, and the ear cleaning process might take some time. You should be patient and don’t force your dog; it will only make them hate the whole process in the future.
Step 2
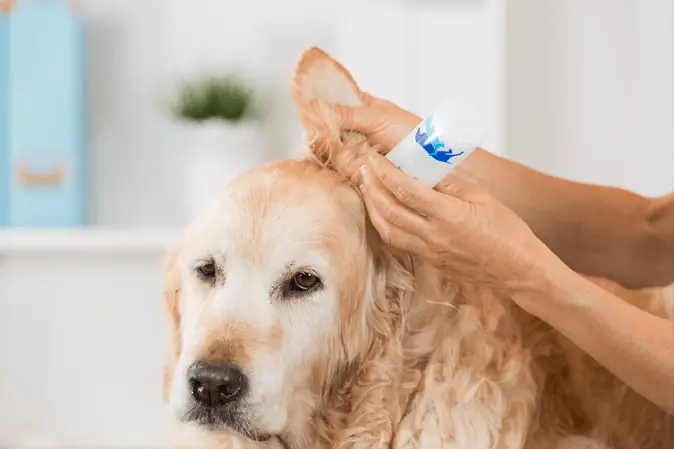
In the second step, you should pour the ear cleaning solution inside the dog’s ear canal. It is vital to prevent the applicator tip from touching the dog’s ear canal. That might actually introduce bacteria to your dog’s ear.
You should hear a “squishing” sound as the ear cleaning solution dislodges the debris from your dog’s ears. The solution should take care of all the dirt that might have stuck to the inside of the dog’s ear canal. When you pour the ear solution, massage it at the base of your dog’s ear for about 25 - 30 seconds.
Step 3
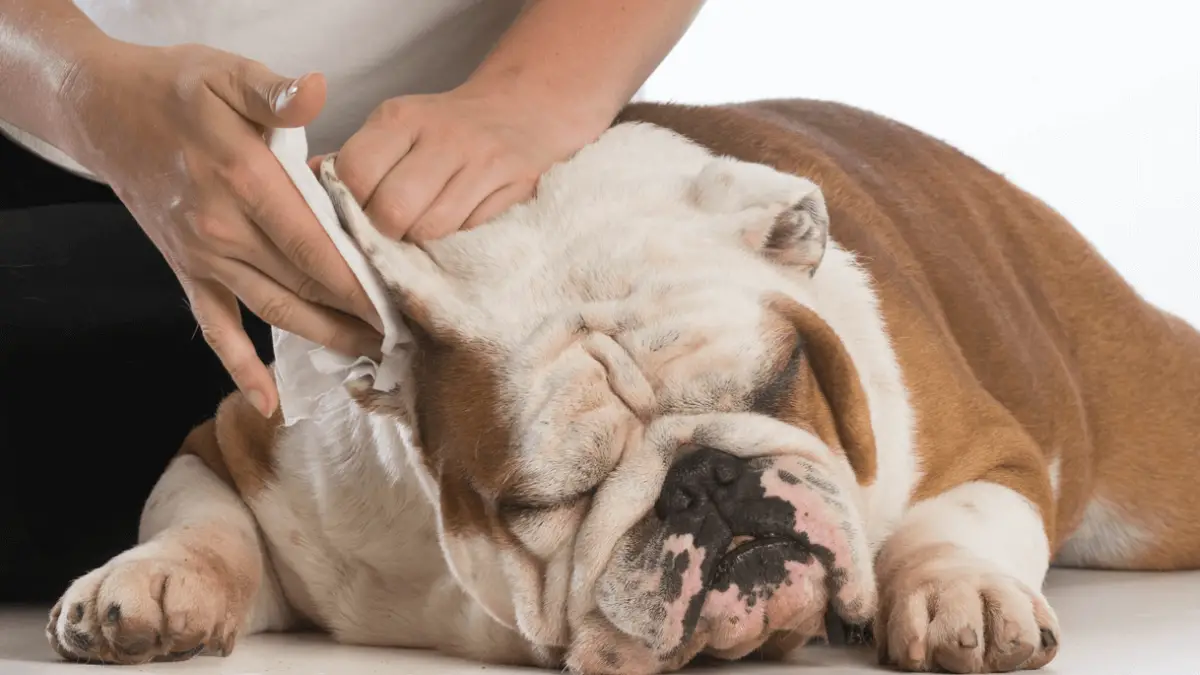
After you massaged the dog’s ear, you should let your dog shake their head as much as they need. It is a good idea to prepare some paper towels to take care of the spraying that is about to happen. Don’t be surprised if you get sprayed.
When your dog stops shaking their head frantically, take the gauze or cotton balls you prepared and wipe the inside of their ears. Make sure you do not go too deep. Wipe out the outer part of the ear and don’t go deep in the ear canal. The safest depth you should go is one knuckle. It is vital to keep an eye on your dog’s reaction during the cleaning process. If they seem to be in pain or discomfort, you should notify your vet and let them know what’s going on.
IMPORTANT NOTICE: Make sure you don’t use Hydrogen Peroxide to clean your dog’s ears. It can cause irritation, and extended use will cause damage to the ear.
If you want to know more about ear infections in dogs, check out this article - Ear infections in dogs.
World Dog Finder team


Share