How To Trim Dog Nails
29.10.2020.
Owning a dog is a big responsibility, and if you want to be a good and responsible dog owner, you will need to know some basic dog “maintenance.” If your dog lives inside with you and your family, your dog’s hygiene is more important than having a dog that lives outside. Dog grooming basics should be familiar to you, and those include bathing your dog, brushing their teeth and coat, and trimming their nails.
Why is it important to trim your dog’s nails?
Trimming your dog’s nails goes beyond cosmetic reasons. It is not that your dog requires a manicure or pedicure to look good; it prevents them from developing health problems. Overgrown dog nails can quickly become a problem and significantly impact your dog’s life in a very negative way. Some of the problems untrimmed nails can cause are;
- Posture problems
- Spine problems
- Walking problems
- Lameness
- Infections
Some more active dogs can naturally wear their nails down by running, scratching, digging, and just playing. If your dog is not one of them, make sure that their nails have a regular maintenance schedule.
How do you know your dog’s nails are too long?
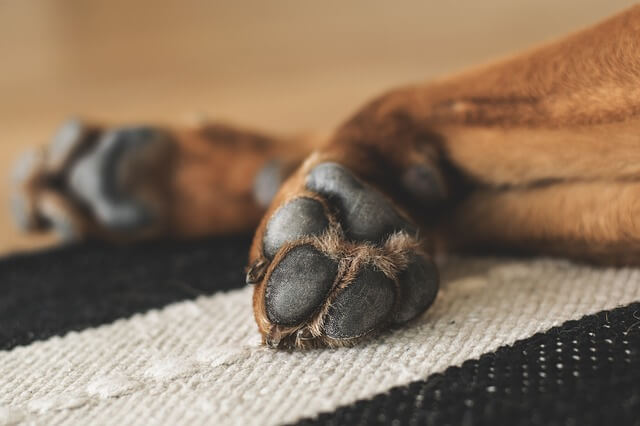
The “official” definition of a too-long dog nail would be - if a dog is standing with their legs straight under them and their nails touch the floor - the nails are too long.
A good indication of too long dog nails is hearing them clicking on the floor when the dog walks.

How to prepare your dog for nail trimming?
Like with most things in life, practice makes perfect. The best approach you can have is to start preparing your dog for nail clipping from when the dog arrives at your home. Take your time; this process can last a couple of days, and each day you move an inch forward.
Start by gently touching and handling your dog’s paws. Play with them and give your dog treats every time they allow you to “take care” of their paws. It is also a good idea to let your dog sniff the clippers or grinders you plan to use for their nails. After a while, start touching their paws with your tool of choice, and after that, give your dog lots of praises and treats.
If you properly socialized your dog, they should be used to you touching their paws. For more tips on socialization, check this article.
Phase two starts after that, and you can start getting your dog used to the sounds clippers and grinders make. Start clicking the nail clippers (or turn on nail grinder) next to your puppy’s paws, but don’t force trimming yet. You can dial back a bit and repeat the light touching of the puppy’s paws with the clippers. Give them a treat and loads of praises all the while, so your puppy always feels comfortable and happy.
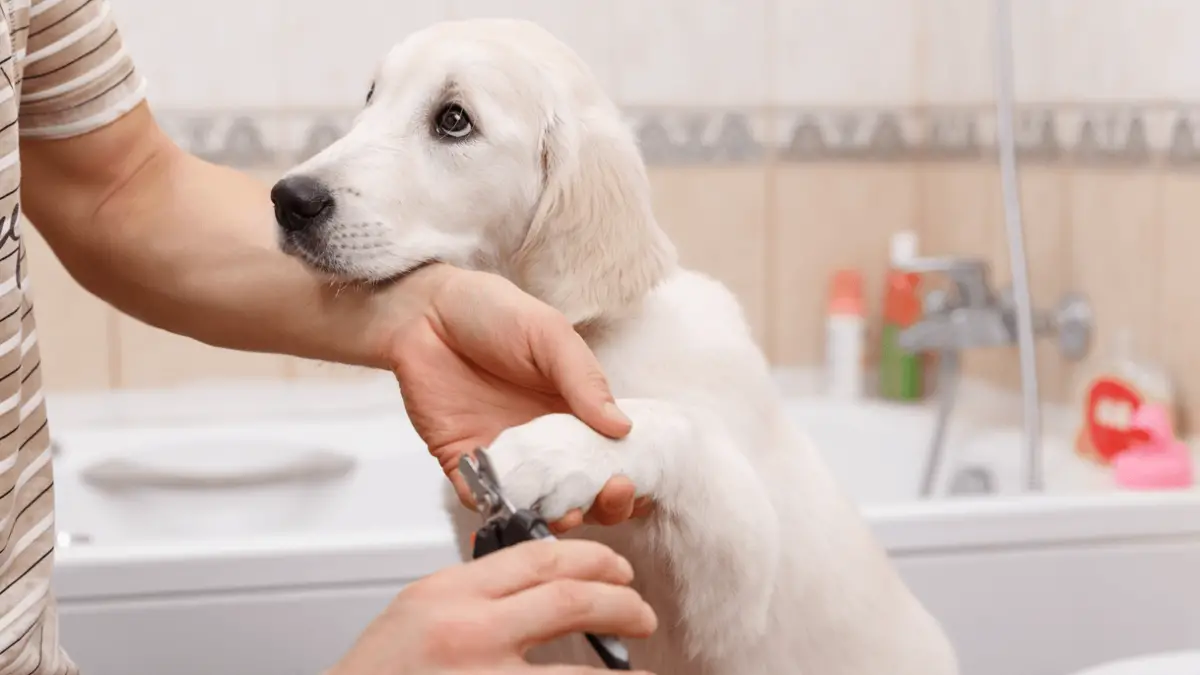
Phase three is when you actually do some dog nail clipping or cutting. By now, your puppy should have no problem letting you handle their paws. If that is the case, try clipping a tiny bit of just one nail.
If your puppy doesn’t mind that, give them loads of treats and praises, but don’t force them to do other nails the same day. The next day you can try repeating the process and keep repeating until your puppy gets completely used to it and doesn’t mind you doing it anymore. This is a proven way to get your puppy used to cutting their nails.
BONUS TIP: You can practice these things even if your dog doesn’t need nail trimming. These practice runs will help your puppy get used to this process and get used to it.

How to clip dog nails?
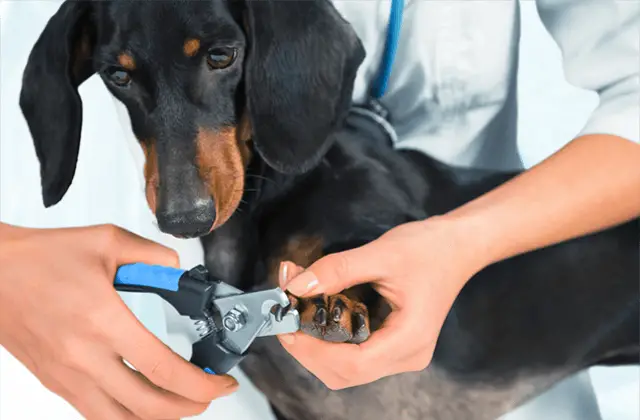
A wide range of products are made for clipping dog’s nails, and you can choose whichever one you and your puppy are most comfortable with. There are nail trimmers, clippers, and grinders, and they all require different techniques.
If you follow these three easy steps, nail clipping will become safe, and your dog won’t mind you doing it whenever needed.
Step 1 - Prepare the tools you decided to use and make sure everything is at an arm’s length. Make sure your dog is in a calm and peaceful state. If they are still a bit skirmish, take them for a walk or calm them down with petting and praising.
Step 2 - Decide on the cutting needs and edges. Dog nails have tiny blood vessels, and if you clip them at the wrong angle, you can make your dog’s nail bleed. The best angle is right before the blood supply starts, and you can see the pink area in the nail (if nails are dark or you can’t see where the blood supply starts, try using a flashlight and examining the nail).
Step 3 - For this step to begin, your dog should be relaxed, and you should have defined where to cut each nail and at what angle. If you have done these steps carefully and correctly, there should be no blood, and your dog won’t mind a thing. Start clipping, cutting, or grinding, and you will be done in no time.
BONUS TIP: To make it a really positive experience, after every nail trimming session, reward your dog with loads of treats and praises. That way, your dog will associate nail cutting with the positive experience that follows it.
Video tutorial: How To Trim Puppy Nails The Easy Way
Now you know how to safely and adequately cut dog’s nails. You are one step closer to becoming a knowledgeable and responsible dog owner!
World Dog Finder team


Share